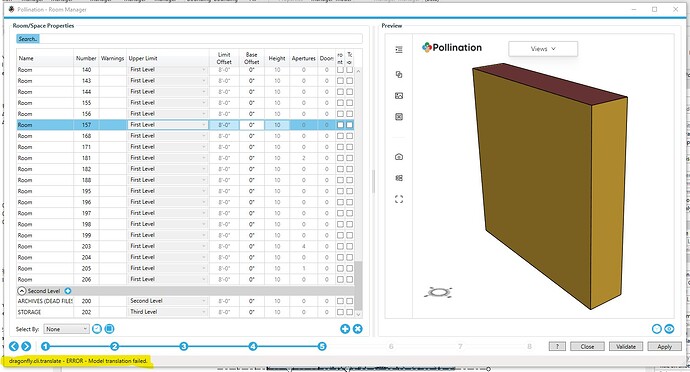
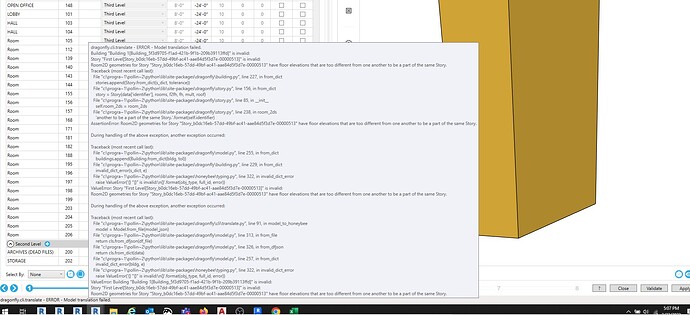
i hate to be such a pain in the rear but this is my 1st time running a model thru this. it finally previewed the entire model selected. i had to make some changes to the rooms, updated geometry, tried to preview again and it now will only preview 1 room. i select all rooms, hit preview eye, then it deselects everything and only previews 1 room. i also have this little error note at the bottom. i have attached image.
@cacampbell so this might happen when you got a room that was created on Level 1 as an example, but instead of actually sitting on Level 1, it has a Base Offset so that it starts on Level 2 and goes up to Level 3. Under the hood, it still is assigned to Level 1, but physically it’s floating at Level 2 and Honeybee validators are complaining about it.
Hi @cacampbell - Thank you for posting your questions. We are here to help! It takes some time to get the hang of the process.
I have one other suggestion. It looks like that your model is an extruded model. In that case, make sure to use the extrude floor plans mode for exporting your model. It will simplify the process.
Also, feel free to share the model in a private message if you want me to give it a try.
any advice on how to quickly identify which room is doing this and what the fix is? or a link to any video already covering this would be appreciated. thank you!
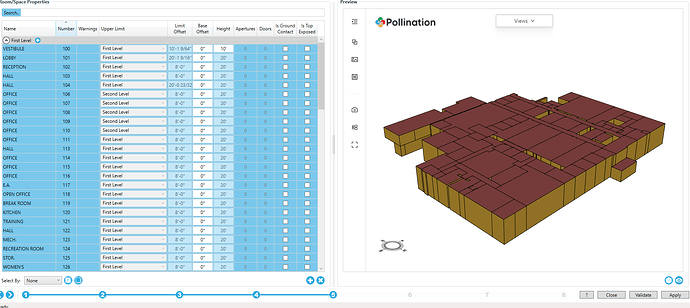
Hi @cacampbell - I had a quick look at your model. The source of the issue is that you have set the extrusion height to 0. They should be 20’ and 10’.
Then you can overwrite the heights for the spaces that need to be 10’ and you should be good to go. Here are the rooms without the apertures.
Unfortunately, the apertures in your model are similar to the ones in this topic.
I’ll share them with @ksobon and we should be able to push a fix soon. I’ll record a video for you that shows how I would clean up and prepare this model.
@mostapha a few comments here:
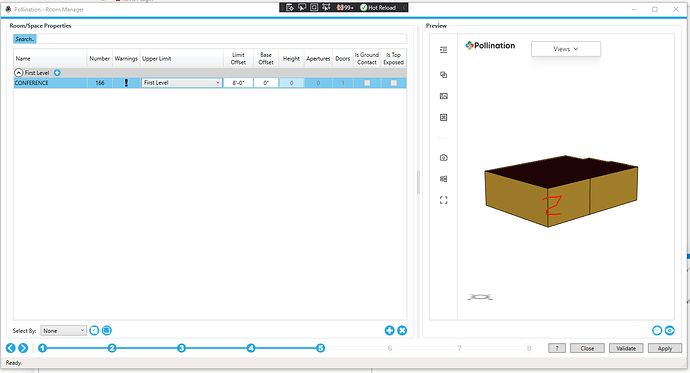
For Conference 166 if we use the Full Volume method, with the current model we end up with the following result:
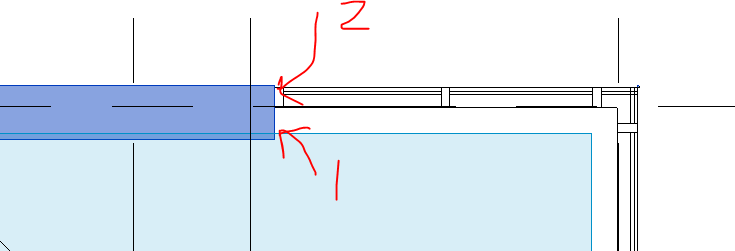
As you can see Apertures are missing. That’s because there are two walls in the model, stacked on top of each other and they are both bounding walls.
We want to make sure that the most outer one is the only bounding wall since the curtain wall is embedded into that one. Let’s turn off Room Bounding from the finish wall on the inside:
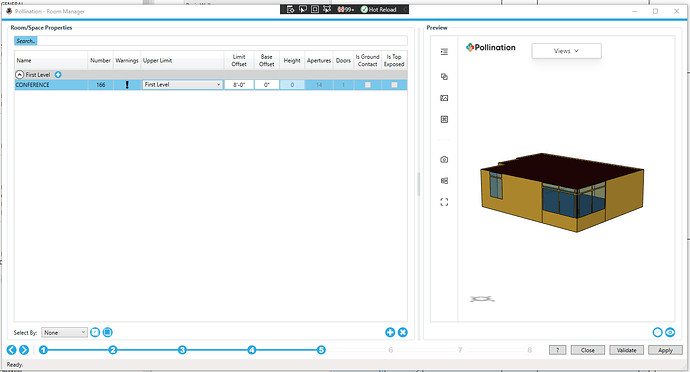
Then rerun the pollination geometry parser and then we end up with a much better result:
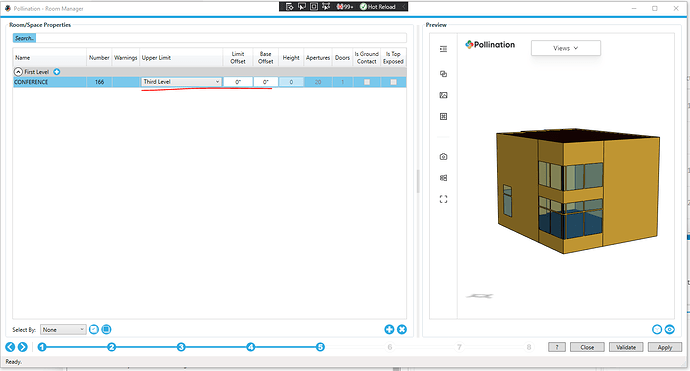
Not done yet, as the room seems to be 8’ tall and apertures get cut off. Let’s just move that room up to the Third Level:
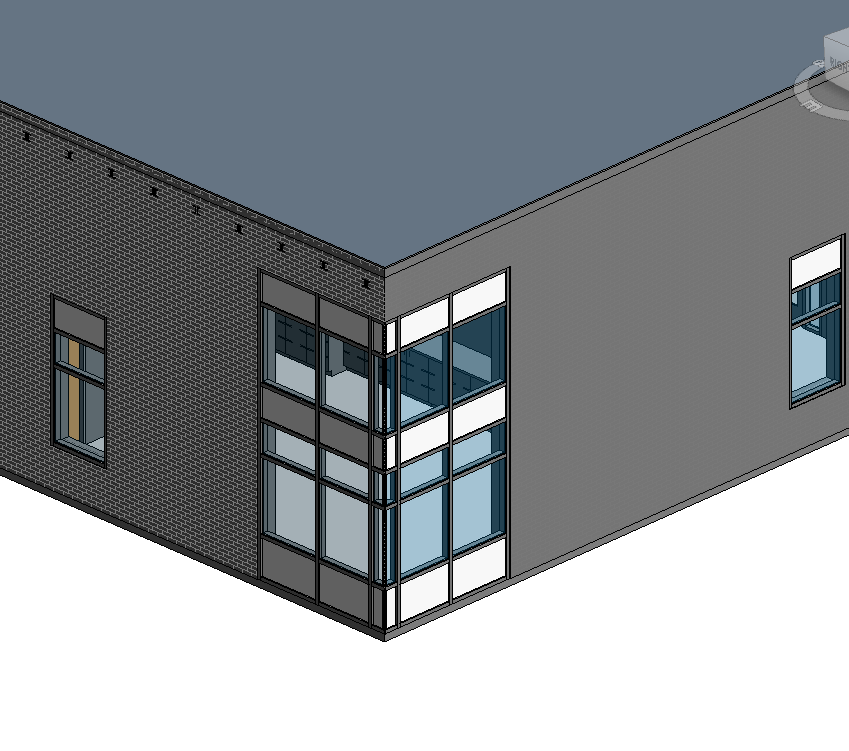
That results matches the model in 3d:
Thank you, @ksobon - I used the extruded method because it was faster and didn’t need any cleanup for the room volume. I had to use an older version of the plugin to get the apertures right but other than that everything works smoothly. I sent the recording to @cacampbell.
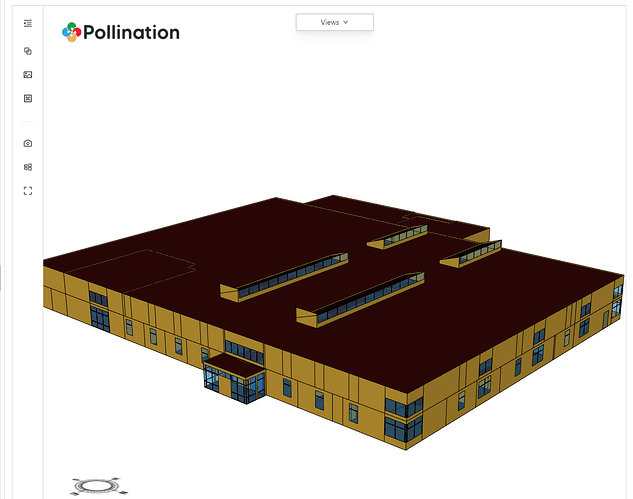
The only drawback with using the extruded method with this model is that we will miss the skylights but that will be addressed once we use the most recent version of the Dragonfly model that Chris put together last week. That should support roofs like this one. It is also very quick to remodel them in Rhino by using the current geometry as the guide.
@mostapha Of course. I will have a look at the extruded model issue here but with the full model, I got this result in less than 30 min. Yes, it did require some cleanup and it’s probably not perfect, but we will get there.
you guys are awesome. i get it now! i suppose with time and experience ill be able to identify these issues. ill grab a fresh version of this model and see if i cant do it this way and get these results. thank you again!
Yes. That’s the right attitude! It will take some time to get the hang of it but once you know, then it is pretty straightforward.
