Hi Pollination Team,
I am curious to understand if the way I am splitting a roof to turn the overhangs into shades is still correct.
I am used to the workflow from the old editor where i create a boundary around all the respective rooms, then select the boundary and the roof, split it, and turn the overhangs into shade.
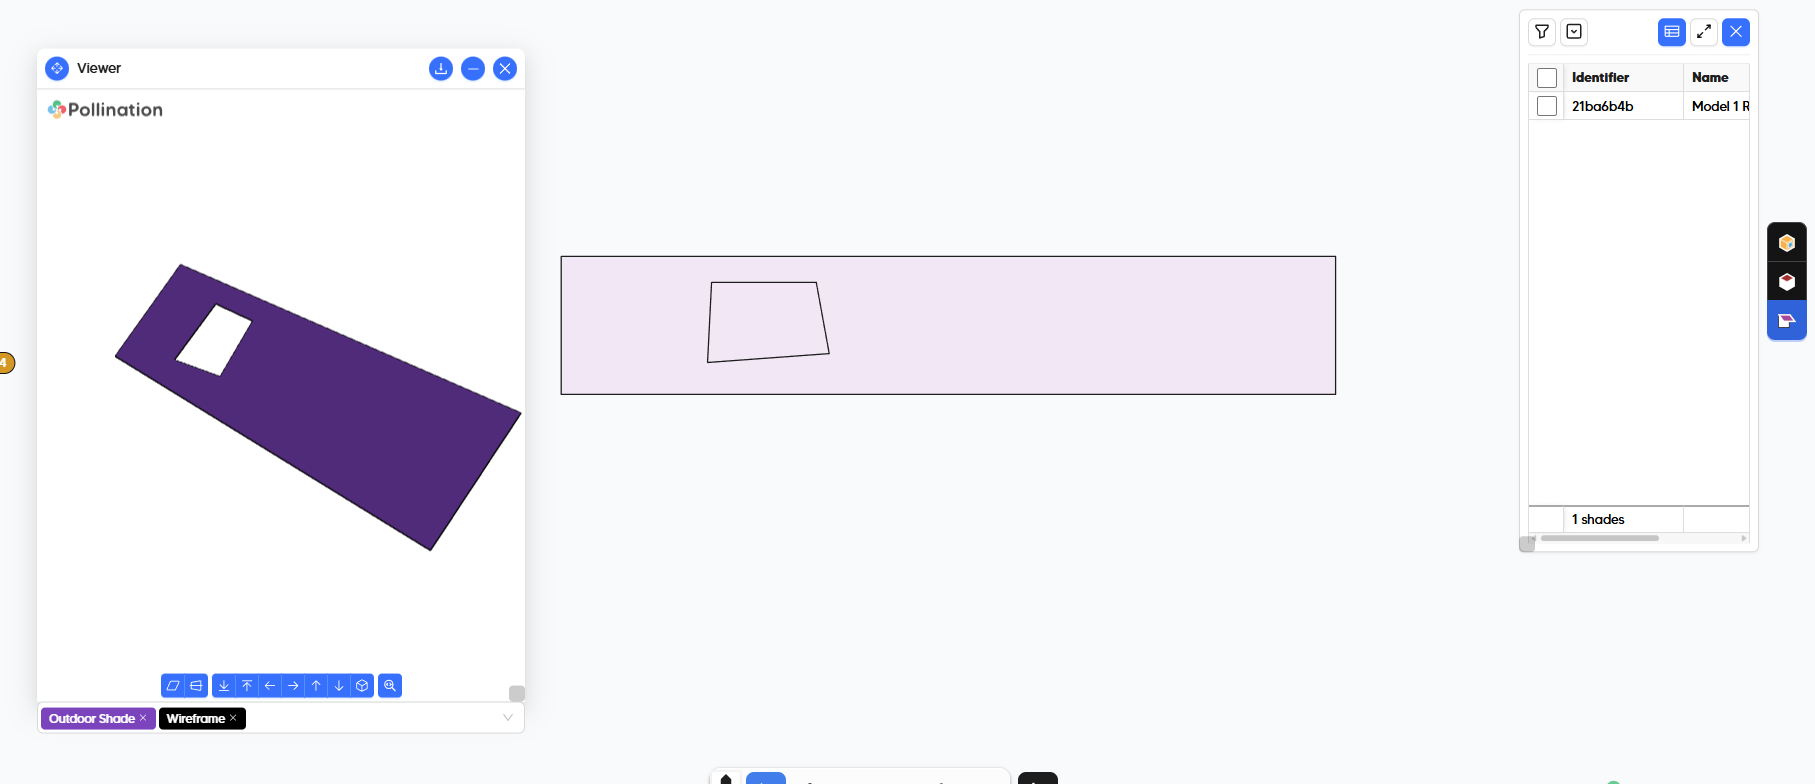
The problem (maybe it is not a problem?) I ran into is that if I do that in the new model editor, even if I select the new split outer roof, it will still visually fill out the inside with pink feedback color.
However, the inside should be the other roof that wasn’t turned into a shade.
I am worried here that for certain models, it creates errors when the shade goes through the rooms.
IMAGES
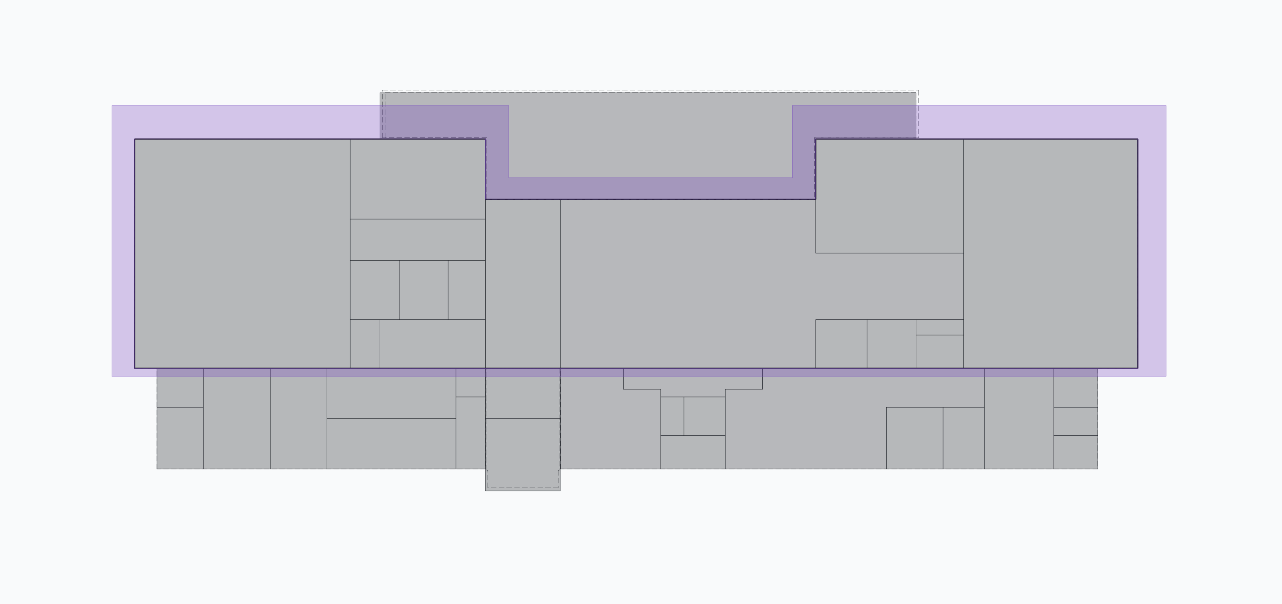
Below is an image of the old model editor and how i am used to it looking (I edited it in V1):
for some reason, in Model Editor V2 it shows up as follows (if i reopen the same file in V2):
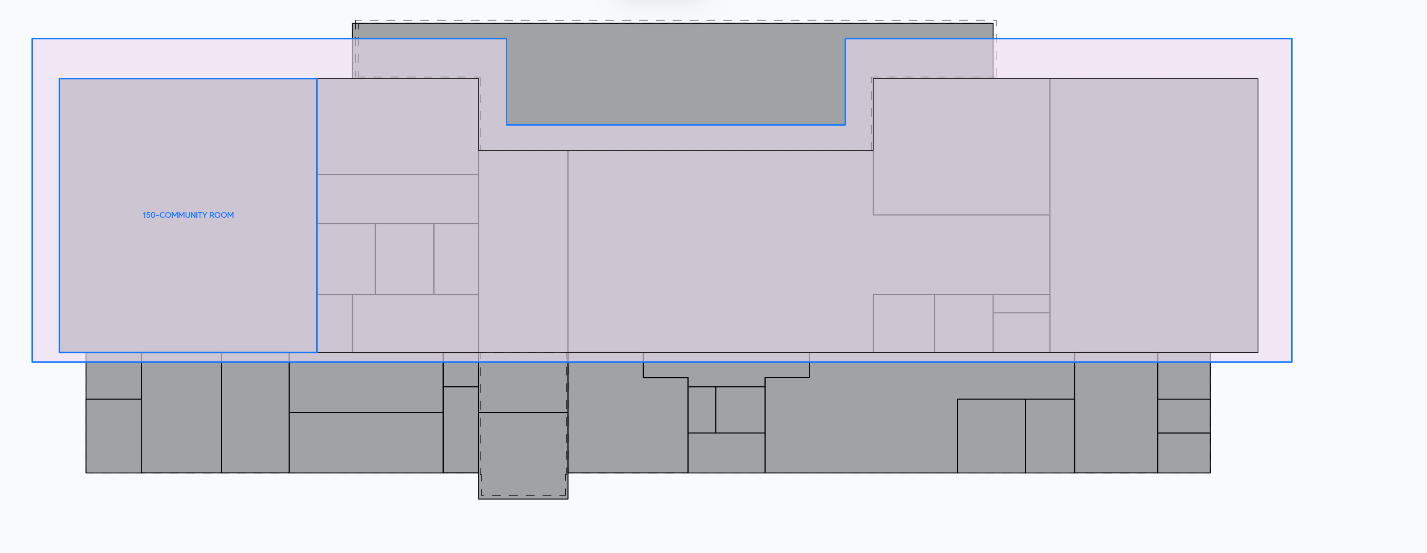
Is this a problem or just a difference in visualization?
If it is just a difference in visualization, i would prefer to have the visualization from V1.
Thank you :))